Looking to create a pollinator-friendly garden, but not sure where to start? You are in the right place! We encourage you to use this toolkit as a guide to building a pollinator garden in your own yard, to provide food and shelter for our native pollinators!
Help build Pollinator Paradise across the City of Hamilton!
Help build Pollinator Paradise across the City of Hamilton!
Toolkit Contents
Scroll through to view the entire toolkit, or click through the tiles below to navigate the page!
PART 1 - Pollinators and Biodiversity
|
|
|
PART 2 - Planting Paradise - Using Native Plants to Support Native Pollinators
|
|
|
|
|
|

|
Part 1: Pollinators and Biodiversity
Why plant a pollinator garden?
|
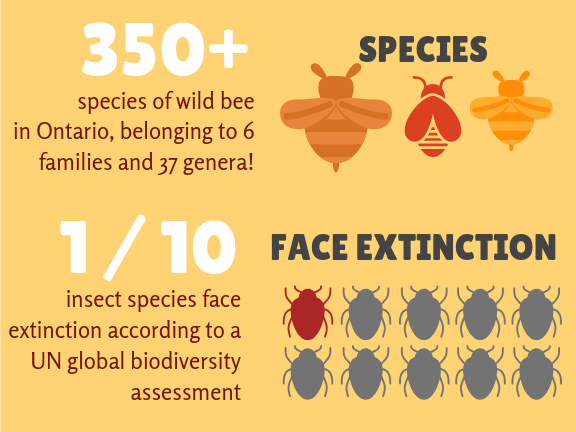
Pollinators are insects and small animals that transfer pollen from one plant to another, allowing plants to produce seeds. In Ontario, there are over 350 different wild bee species, plus thousands of butterflies, moths, flies, beetles, and hummingbirds that act as pollinators. Many plants, including trees and wildflowers, rely on pollinators to reproduce new plants, but pollinator populations are rapidly declining and some face extinction! This is due to factors that include habitat loss, disease transfer from non-native pollinators (honey bees), pesticide use, lack of food sources and climate change. In fact, the recent UN global biodiversity assessment estimated that about 1 in 10 insect species face extinction.
|
Did You Know?
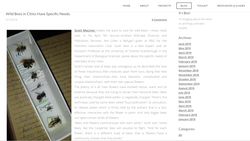
The over 350 species of wild bees in Ontario, belong to 37 distinct genera and 6 families! Interestingly, honey bees, although often the focus of much media attention, are actually not native to North America! Take a look at the gallery below to see just 20 of the native bees that call Hamilton home!
|
|
Pollinators need our help, and we need theirs!
 Photo Credit: Mary Paquet
Pollinators help feed people. Did you know that one out of every three bites we eat is directly thanks to a pollinator? And because pollinators help plants, they make sure we receive many of the other benefits that nature provides, which are called ecosystem services and are often impossible or too expensive for us to recreate. For example, by keeping plants in our natural landscapes, pollinators ensure that we have clean air and oxygen to breathe. Supporting pollinators is a win-win for everyone - pollinators, plants and people!
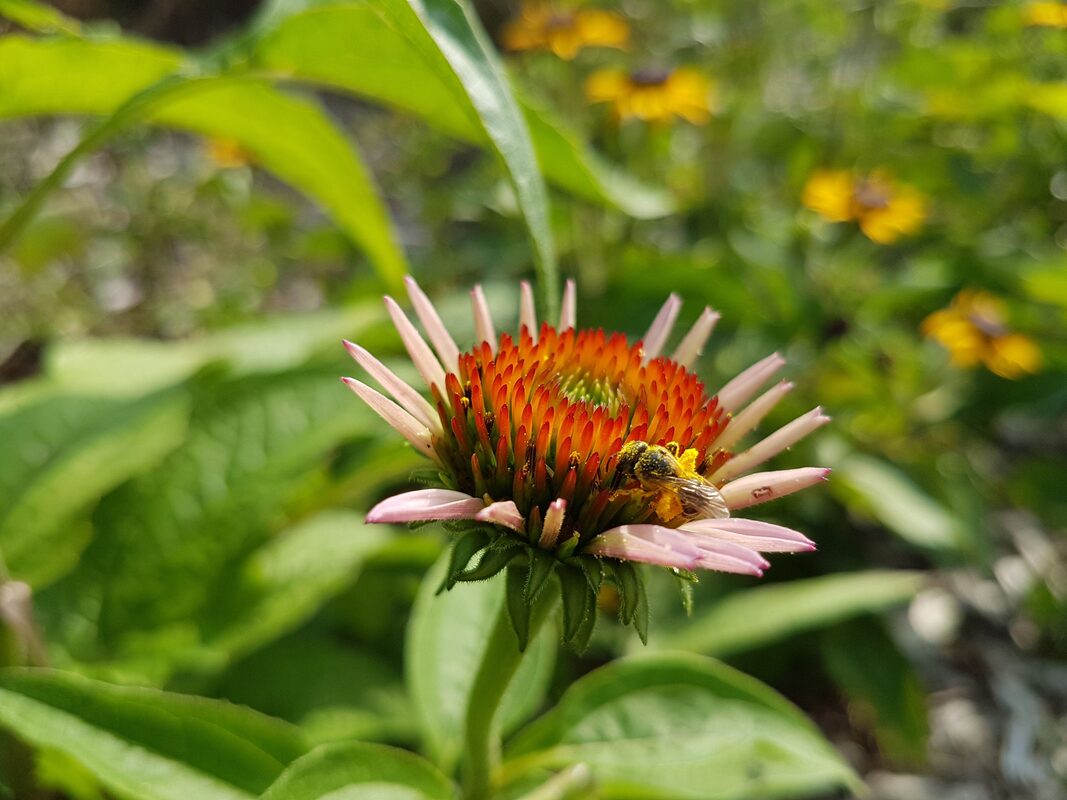
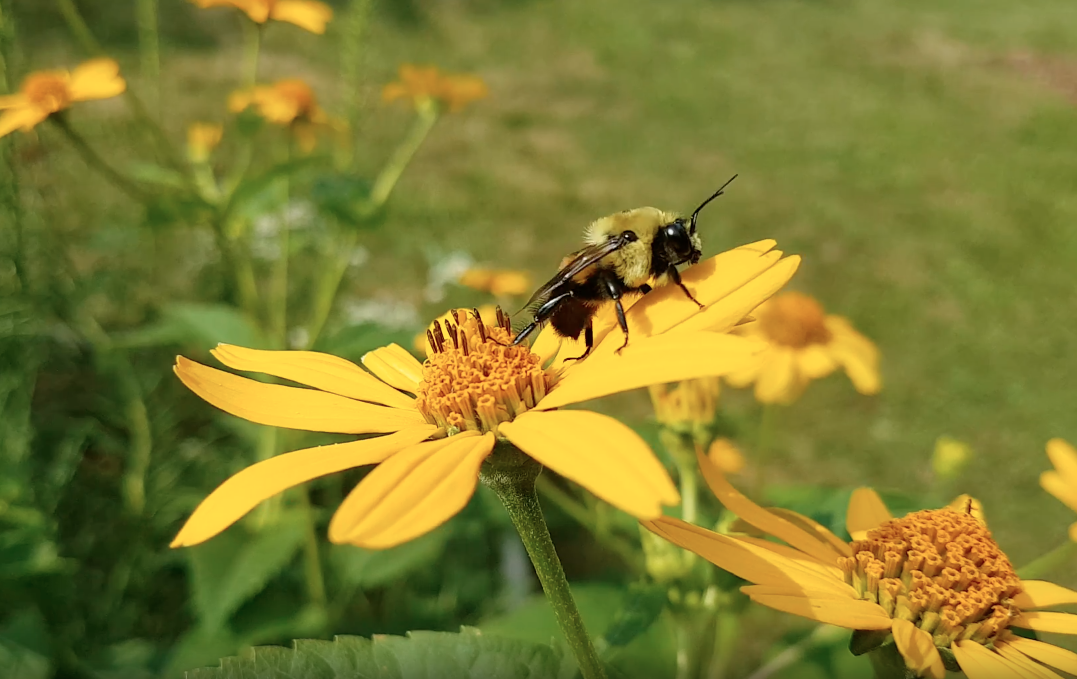
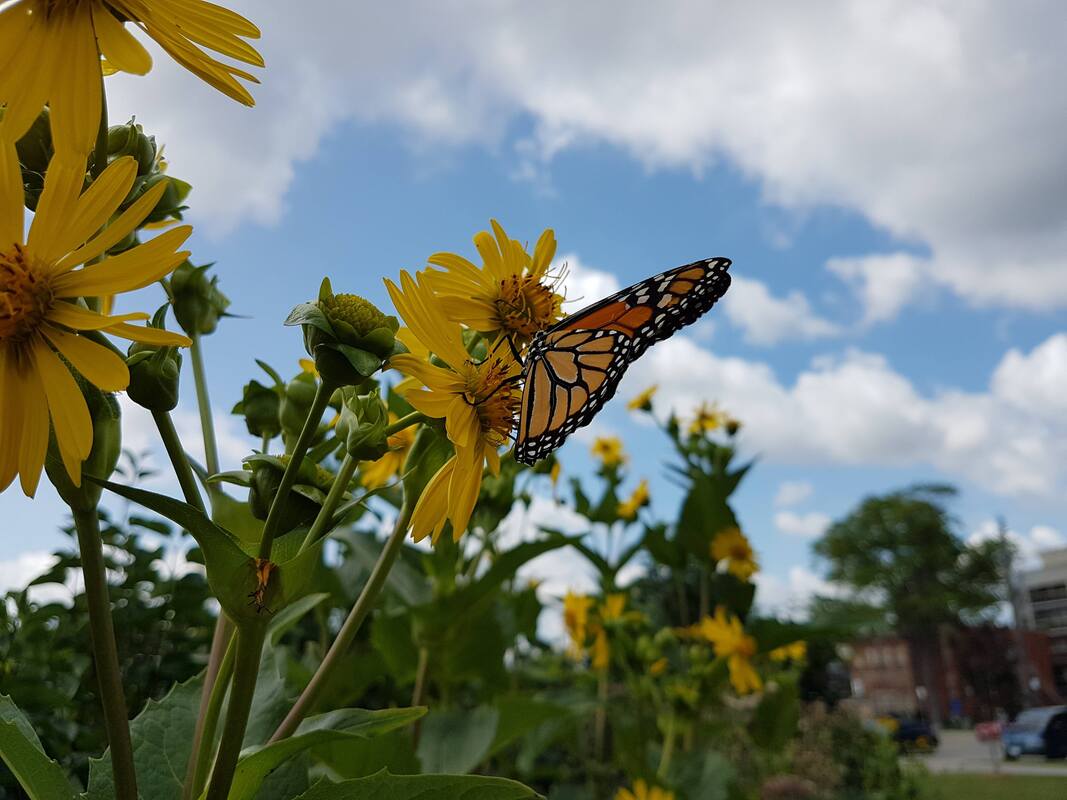

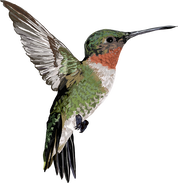
Photo Credit: Mary Paquet
|
The Bigger Picture: Supporting BiodiversityWhat’s more, by taking action to support pollinators, you are really acting to support biodiversity – the diversity of life. This comes with many other benefits. Planting a variety of pollinator-supporting native plants not only adds beauty to the landscape, but provides ecosystem services that directly benefit all of us. These services include a reduced risk of flooding, as the plants uptake water, and decreased home energy costs - especially if you plant a native tree that shades your house. Plus, studies show that spending time in natural spaces reduces the symptoms of common mental illnesses like depression, and can improve behaviour in children! Bringing nature home truly benefits us all.
|
'
Part 2: Planting Paradise - Using Native Plants to Support Native Pollinators
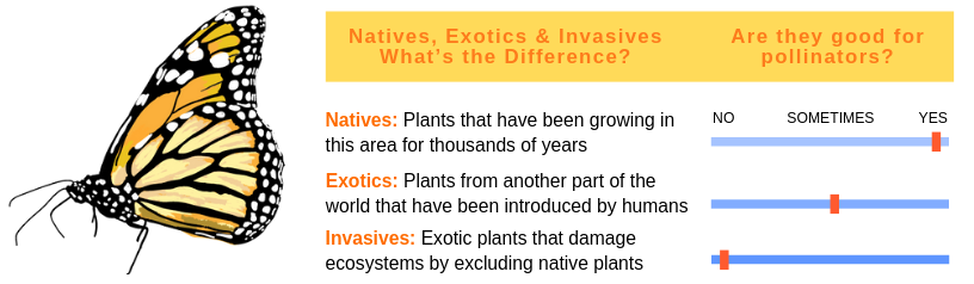
Native, Nativar, Exotic or Invasive - What’s the Difference?
Natives |
Nativars |
Exotics |
Invasives |
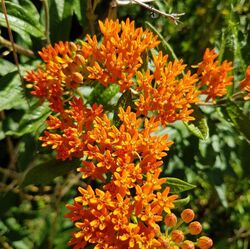
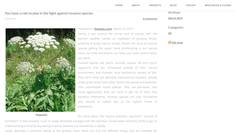
Butterfly Weed
Planting native plants is one of the best ways to support our native pollinators. Native plants are plants that have been growing naturally in our area for thousands of years, before European colonization. Native plant species have evolved alongside our native insects, so our pollinators are adapted to using them to meet all their needs. By planting native plant species, you will be providing pollinators with much-needed food, shelter, and nest-building materials. Also, gardening with native plants can be really simple due to their suitability for our region's climate and environment. |
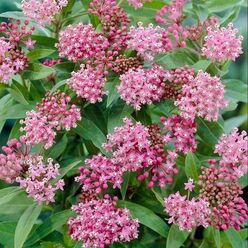
Asclepias incarnata ‘Cinderella’
Nativars, or cultivars of native species don’t provide as many benefits to pollinators, and can be thought of as being “candy” - attractive but not necessarily nutritious! Often nativars have been bred to have certain flower characteristics that are considered more attractive to people, such as extra petals or a different flower shape. This can make it more difficult for pollinators to access pollen and nectar, or reduce the amount of pollen and nectar available for them. You can often recognize nativars at the nursery because the label will include a cultivar name in quotes after the latin name (e.g. Asclepias incarnata ‘Cinderella’ rather than simply Asclepias incarnata). |
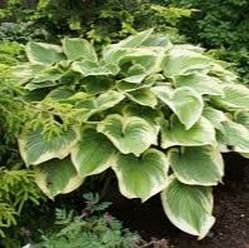
Hostas, native to northeast Asia
Exotic plants are plants from another part of the world that have been introduced accidentally or intentionally by humans. Though there are some exceptions, most exotic plants do not support pollinators as well as native plants because native pollinators are not adapted to feed on these plants. Many specialized pollinators will not even visit exotic flowers because they don’t meet their nutritional needs. So, if you want to garden to support pollinators, we recommend that you use native plants rather than exotic plants. |
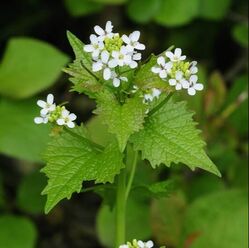
Garlic Mustard
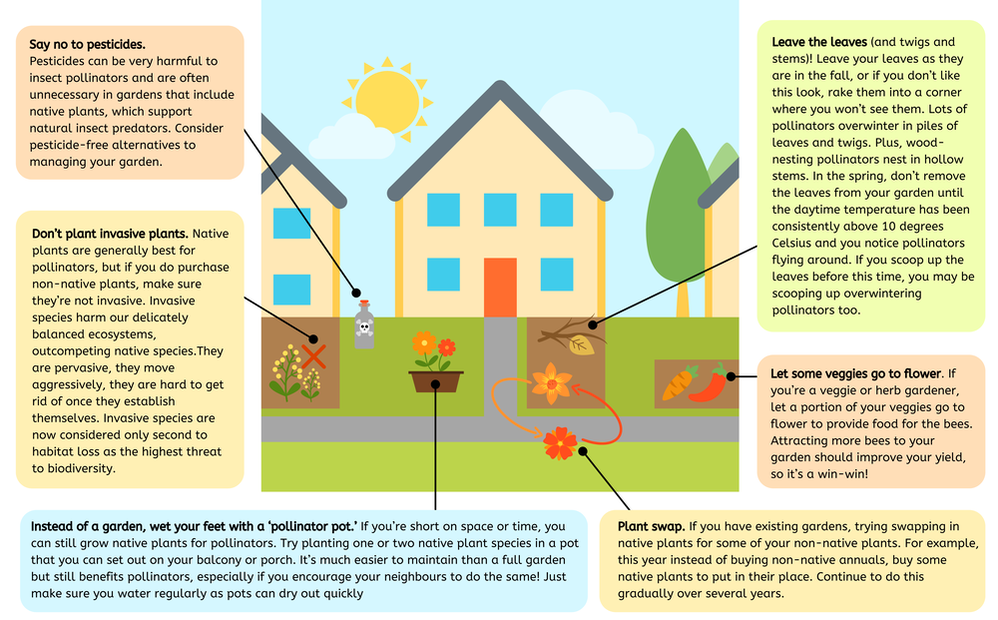
Invasive plants are exotic plants that damage ecosystems and threaten local biodiversity. They harm our delicately balanced ecosystems, outcompeting native species.They are pervasive, they move aggressively and they are hard to get rid of once they establish themselves. Invasive species are now considered only second to habitat loss as the highest threat to biodiversity. Please DO NOT use invasive plants in your garden. For a list of common invasive garden plants and suitable native replacements, click here. |
Steps to Planting a Pollinator Garden
Use this tool-kit to create a pollinator garden full of native plants. You can create a pollinator garden even in very small spaces, like balconies! Also, if you’re not ready to create a pollinator garden, there are still lots of things you can do to help pollinators. For some easy beginner tips on how to support pollinators, click here!
Scroll through the page to see the various steps to planting a pollinator garden, or use the tiles below to navigate through the six steps!
Step 1 - Choose a Site
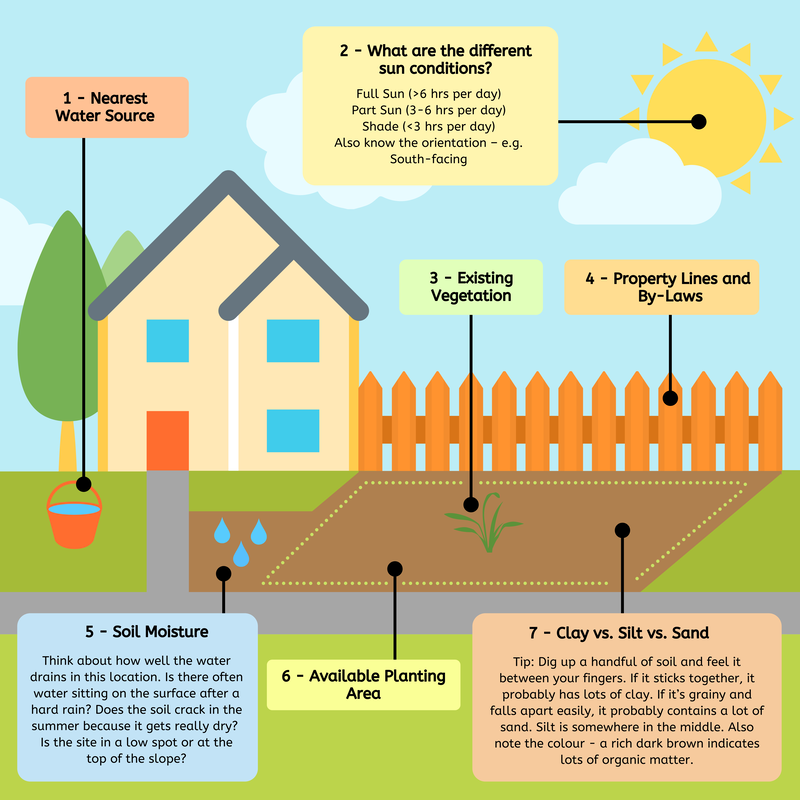
It’s important to choose an appropriate spot for your pollinator garden and get to know the site so you can choose appropriate plant species. You don’t need to get too technical, but you should get a general sense of your site’s conditions before choosing plants. If you can, pick a sunny location close to a water source (though if you have shade you can consider planting a shade garden - also called a woodland garden). Consider how that space is used (for play, for dogs, etc.) and plan accordingly
Get to know your site before choosing plant species:
Remember, start small. You can always expand your garden next year!
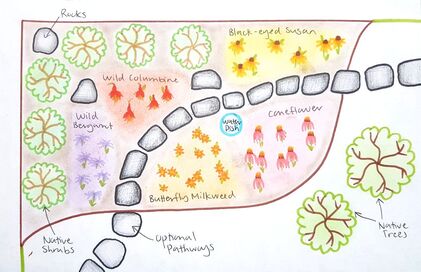
Step 2: Design Your Garden
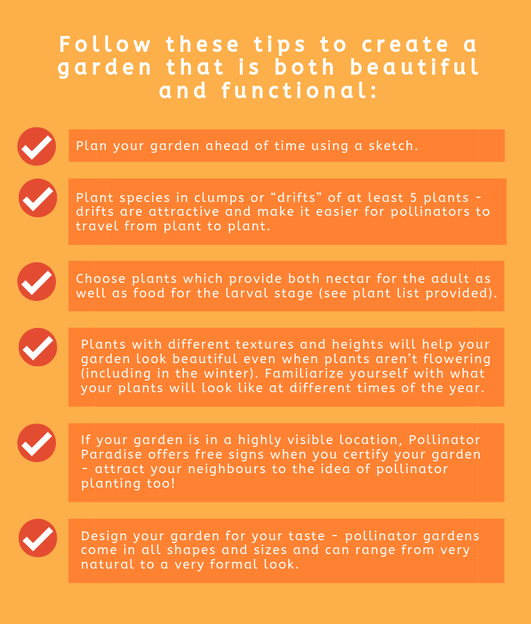
Include as many of the following elements as you can to create the ultimate pollinator paradise:
Include as many of the following elements as you can to create the ultimate pollinator paradise:
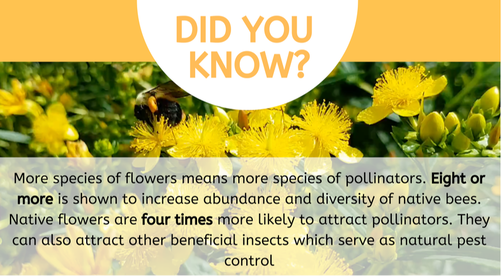
1. Native plants with a variety of flower shapes/colours, bloom times (spring, summer and fall), heights and textures.
2. Trees and/or shrubs for food, shelter and nesting habitat (many wild bees nest in logs or hollow stems).
3. Bare, open ground, free of mulch for the ground nesting bees. Look for evidence of nesting (holes in the ground similar to those made by ants, but usually larger and with no ants around them!) and avoid mulching these areas. Ground nesting bees often do not like areas with too much vegetation so it is usually a hot, dry area devoid of grass due to drought or trampling.
4. Loose leaves and brush for shelter and nesting habitat. You can also cut hollow stems of various diameters into long pieces and bundle them together for wood-nesting bees - each species prefers a different hole diameter. For more information about nests for native bees, click here.
5. A water source such as a puddle or shallow water dish.
Include a flat rock with clean sand or mud in it for butterflies and other pollinators to land upon. Replace the water daily to prevent mosquito larvae from hatching. We do not usually encourage the use of bird baths for pollinators as they are too deep. However, they can be modified by half filling with sand (or small pebbles) and sloping it up on the sides to create a dry 'beach' area the insects can land to lap at the water without falling in.
Include a flat rock with clean sand or mud in it for butterflies and other pollinators to land upon. Replace the water daily to prevent mosquito larvae from hatching. We do not usually encourage the use of bird baths for pollinators as they are too deep. However, they can be modified by half filling with sand (or small pebbles) and sloping it up on the sides to create a dry 'beach' area the insects can land to lap at the water without falling in.
6. Provide a water dish with sea salt, which provides needed salt and minerals, and another with rotten fruit for butterflies (again, having sloped sand allows butterflies a place to land without falling in).
7. Rocks for sunning: South-facing rocks and logs are good for pollinators who like the warmth from the sun
8. Optional: pathways and/or seating so you can enjoy your garden.
7. Rocks for sunning: South-facing rocks and logs are good for pollinators who like the warmth from the sun
8. Optional: pathways and/or seating so you can enjoy your garden.
Step 3: Choose your native plant species
|
|
|
If you’re not sure if a plant is native or if it’s locally sourced, ASK! The seller should be able to provide this information.
|
Important! It is not always easy to find native plants. As well, it is necessary to check for Latin names of plants because some plants are sold under the guise of cultivar names or common names, which can be confusing. For example, the invasive Norway maple is often sold as a ‘Red Maple’ which is actually the common name of a native species. Pollinators need native plants to stay truly healthy. |
|
Step 4: Prepare Your Garden
Give your plants a good start by removing unwanted vegetation before planting. If you’re dealing with tough invasive species, weeds, or a lawn, you may want to consider starting site preparation the year before you want to plant. You can use the following methods to prepare your garden:
Works well for small areas that are already garden beds or relatively bare patches with some weeds.
- Pull weeds by hand or use garden tools to get as much of the root as possible, and place the weeds in the garbage (not the compost!).
- You may need to repeat this a few times before planting.
- Add some compost or topsoil if desired; you’re ready to plant!
Works well for large areas and/or areas with aggressive weeds or lawn.
- Mow the area as close to the ground as possible.
- Add a suppression layer of cardboard, thick newspapers or compostable leaf bags over the entire area.
- Add one or more soil-building layers (at least 3” thick) of manure, leaf compost, and/or topsoil on top of the cardboard/newspaper.
- Plant directly into your soil layers. You can plant right away or, if you are dealing with particularly tough weeds, you may want to wait a few weeks before planting.
- Add a layer of mulch, BUT leave some bare patches so bees can access the ground for nesting.
Works well for large areas and/or areas with aggressive weeds or lawn.
It can also be combined with the lasagna method (B). Solarization should be done the season prior to planting (in spring or summer) to allow time for solarization to occur (for example, solarize in the summer and then plant in the fall). Consider using recycled plastic--your local nursery, greenhouse or local contractors may have used plastic they’d be willing to give away (e.g. old vapour barriers).
It can also be combined with the lasagna method (B). Solarization should be done the season prior to planting (in spring or summer) to allow time for solarization to occur (for example, solarize in the summer and then plant in the fall). Consider using recycled plastic--your local nursery, greenhouse or local contractors may have used plastic they’d be willing to give away (e.g. old vapour barriers).
- In spring or early summer, mow the area as close to the ground as possible.
- Lay a sheet of thick, clear, flexible UV plastic film over the area (like a vapour barrier).
- Using a shovel, dig the edges of the plastic into the ground around the perimeter of the area, forming a seal. Alternatively, use bricks or heavy materials to hold the plastic down around the edges
- Wait at least 6 weeks for the sun to work its magic. For aggressive weeds, wait 2 to 3 months.
- Uncover the area, store the plastic for reuse, and plant!
Works well if you want to replace a lawn or turfgrass with pollinator plants or if you don’t want to wait too long before planting.
- Rent a sod stripper and strip away the turfgrass in the planting area
- Mix a bit of compost into the now bare soil (optional)
- You’re ready to plant!
Step 5: Plant Your Garden
You’ll want to decide whether you are going to use seeds, plugs, or a combination for your garden. Seeds are much cheaper but they can be more difficult to work with. Plugs are more expensive, but the effects are immediate and there is no germination process to worry about. You may decide to use seed for many plants, but purchase plugs or small plants for trickier species or to make your garden look more attractive while you wait for the seeds to come up.
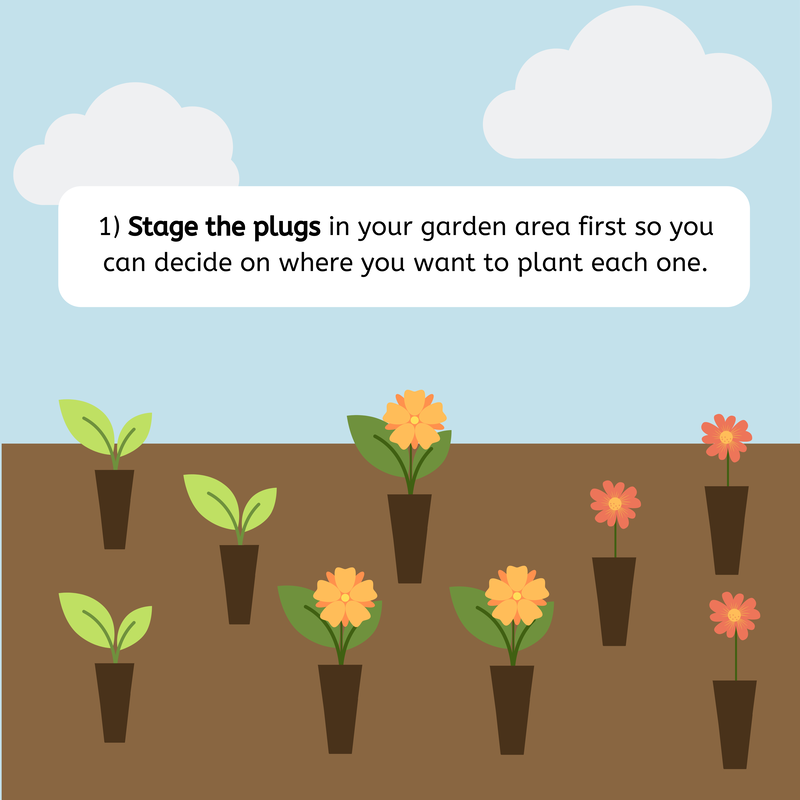
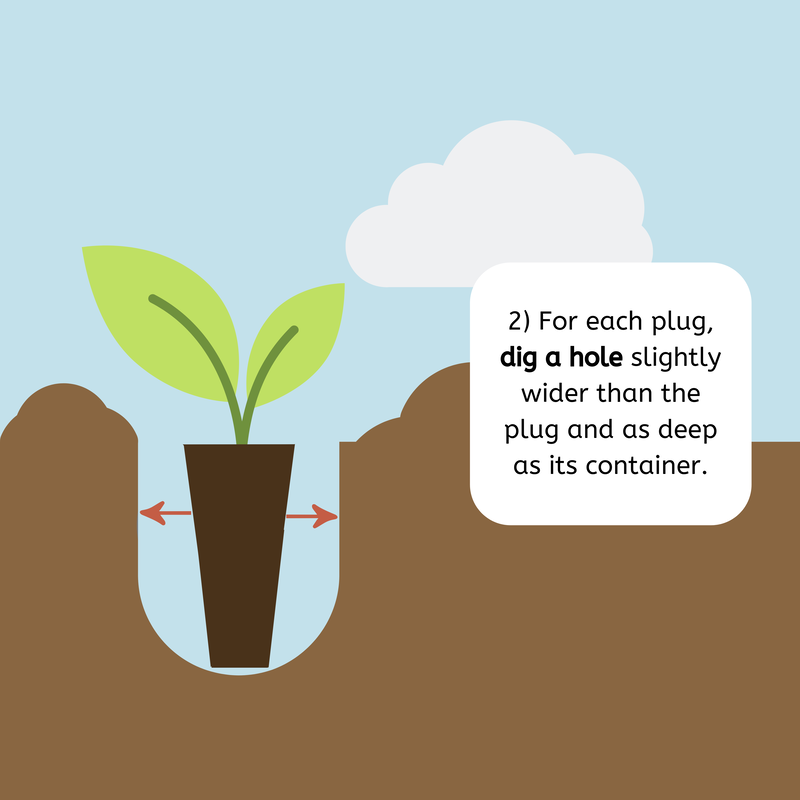
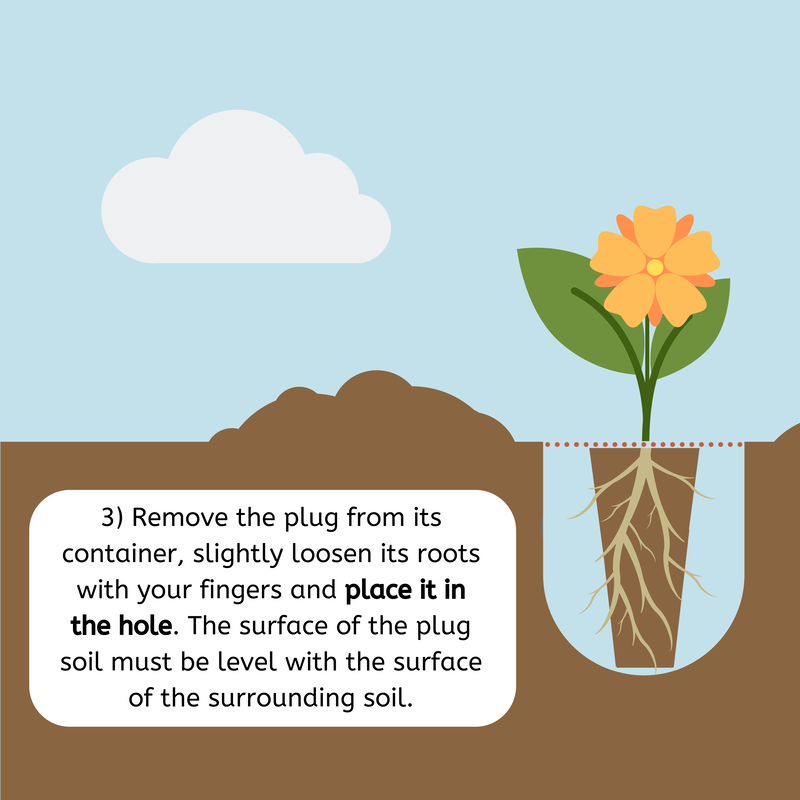
Planting Plugs:
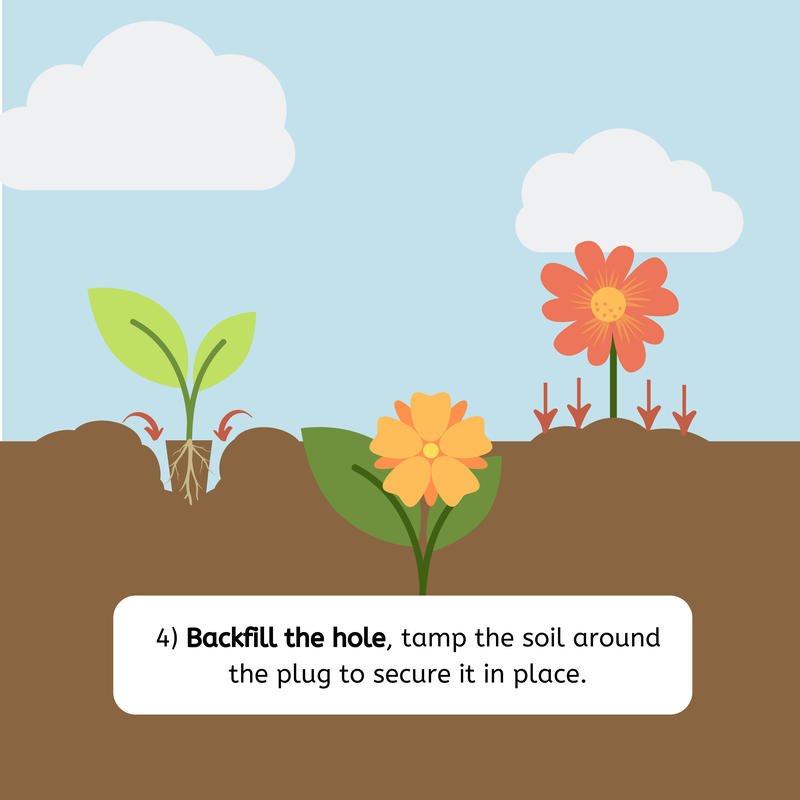
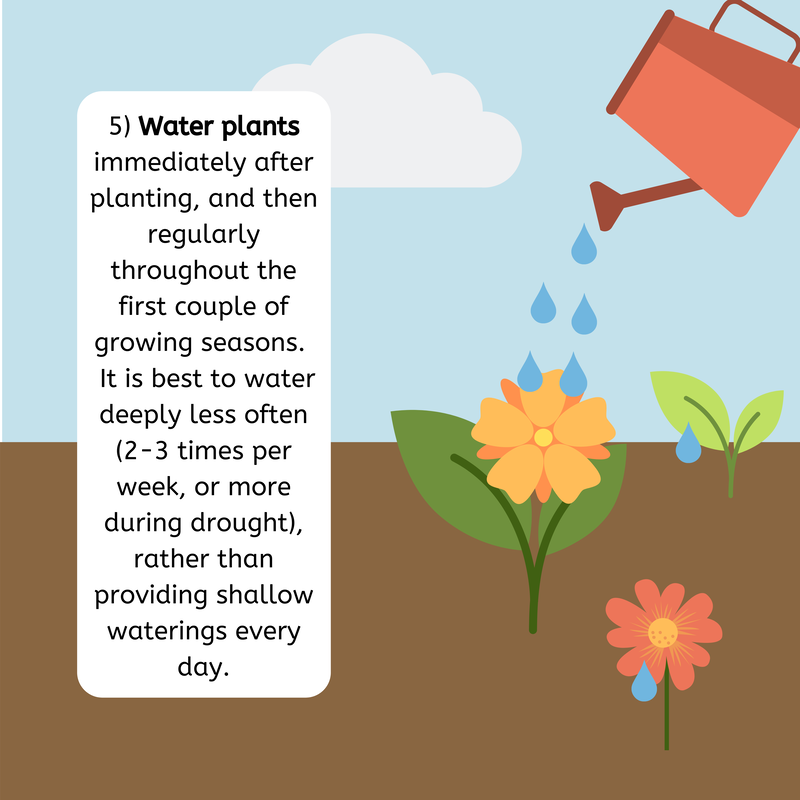
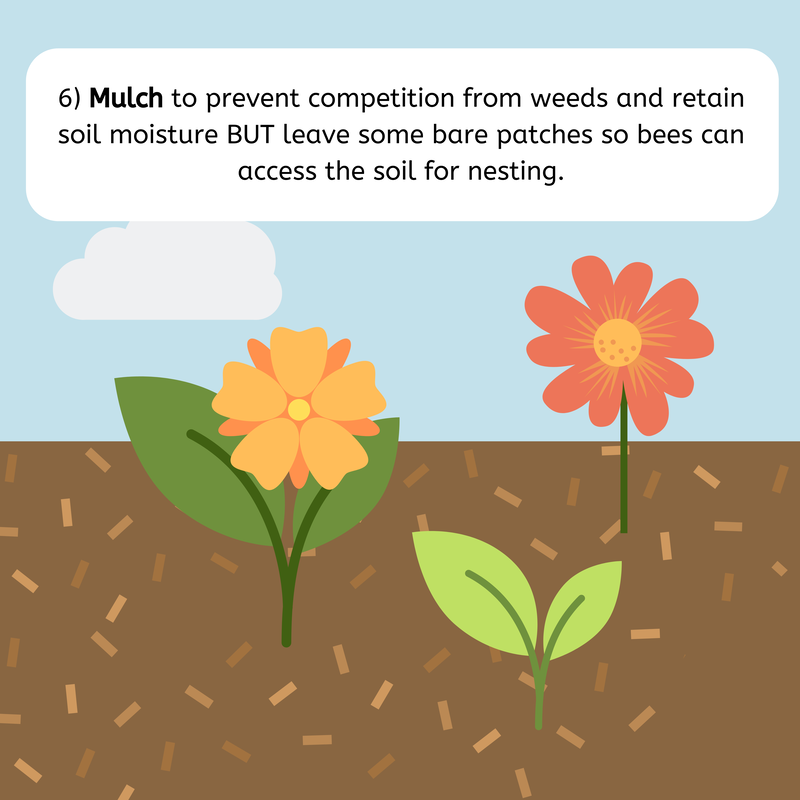
HOW TO PLANT PLUGS
- Consider the size and dimensions of plants. They will get bigger! Find information on the final height and spread of many species online.
- Fall is the best time to plant. Let the plants become established before a hot summer season.
- Spring planting will work, too, but avoid July and August!
- Do not plant plugs during long periods of hot, dry or windy weather.
|
|
|
|
|
|
Starting From Seed?
Decide whether to seed directly onto site (best for large areas) or start them in trays or bags (good choice if your site isn’t ready for planting in the fall).
Starting From Seed?
Decide whether to seed directly onto site (best for large areas) or start them in trays or bags (good choice if your site isn’t ready for planting in the fall).
Direct seeding
If you have purchased the seeds from a supplier, you can follow the supplier’s instructions for sowing. Otherwise, follow the general instructions below:
- Plan to seed in the fall (best time) or early spring (March)
- Ensure that the site is prepped, free of weeds and moist, and that the soil is loosely packed
- Decide whether you want to plant in large masses of single species or create/purchase a mixture
If you have purchased the seeds from a supplier, you can follow the supplier’s instructions for sowing. Otherwise, follow the general instructions below:
- Mix the seed with coarse sand or sawdust so that it can be evenly distributed and so that you can see where the seed has fallen
- Hand-broadcast the seed over the entire area, at a density of about 1-2g of seed per m2
- Press the seeds into the soil by hand or by lightly walking over the entire area (they should be close to the surface, as precipitation and frost-heaving will work them into the soil)
If you’re not ready to plant outside right away, or want to be able to place your plants in more exact locations, you can start them in bags or trays over the winter (between December and mid-March) and then plant them outside in the spring.
- Moisten some vermiculite or potting soil with water.
- Add a few spoonfuls of vermiculite/soil to a plastic resealable baggie or a small seedling tray.
- Add seeds to the bag or tray. If you’re using a bag, the volume of seeds should be about half the volume of vermiculite/soil in the bag. If you’re using a tray, spread the seeds out across the soil surface.
- Ensure all seeds have good contact with the soil/vermiculite - shake and pat down the baggie, or add a little soil on top of the seeds in the tray (but the seeds should not be too deep!).
- Seal the baggie, or cover the tray with clear plastic or a ziploc bag to seal.
- Label your bags/trays with the species of seeds and the date.
- Place the bags or trays in the refrigerator, the garage or even outside in a sheltered location (away from direct light) for 2-3 months. Most native seeds need this period of ‘cold stratification’ in order to germinate.
- After 2-3 months, move the bags/trays from the cold location and into a warmer location with no direct light. If your seeds were in bags, transfer the seeds and soil/vermiculite to a tray covered with clear plastic (reusable tupperware containers or recycled produce containers work well). If your seeds were in trays outside, the temperature should be warming naturally, so you can leave them where they are.
- Once your seedlings germinate, gradually increase their exposure to sunlight.
- When your seedlings have at least 2 true leaves, you can transplant them into bigger pots - when their roots have reached the bottom of the pot, you can transplant them into your garden.
Be sure to check online to see if your species have special germination requirements. https://tomclothier.hort.net/ is one good resource for finding germination information.
It is important to remember that you are planting a habitat. It may take a few years to become established!
It is important to remember that you are planting a habitat. It may take a few years to become established!
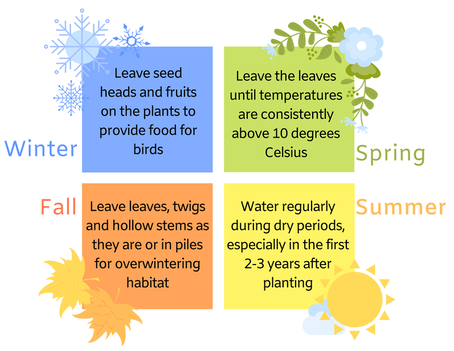
Step 6: Maintain Your Garden
|
SPRING:
|
FALL:
- Add new plugs or seeds if desired.
- Avoid raking and disposing of brush.
- Leave a layer of leaf litter and stem thatch on the ground to provide a refuge for insects OR, if you prefer, rake leaves and brush into an out-of-the-way pile.
- Add additional organic mulch if required BUT leave some bare patches so ground-nesting bees can access the soil, especially in sunny dry spots. If holes appear (similar to ant holes but bigger and with no ants present), do not mulch or till that area. Bees typically do not use shaded areas for nesting but prefer more sandy, easy to work soil in dry, sunny locations that plants have a hard time growing in, such as a patch of lawn in the hottest sunny spot that just can't stay alive.
- Don’t trim the seed heads or fruits off your plants. They provide a source of food for birds throughout the winter!
- Prune shrubs and small trees if necessary.
- Enjoy the different textures and colours that a native plant garden provides, even in the winter!
- Wait patiently for spring to come!
Plant Lists and Resources
Scroll though the list to see a diverse selection of native plants suitable for a number of garden conditions. Or, use the tiles below to navigate the list based on your personal garden conditions. Remember to choose plants with a variety of bloom times, flower colours, flower shapes, textures, heights, plant families and growth forms!

|

|

|
|

|

|

|

|
Perennials suited for: SUN
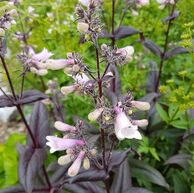
Hairy Beardtongue
|
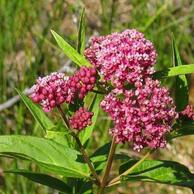
Swamp Milkweed
|
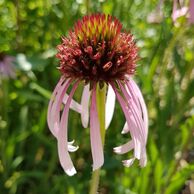
Coneflower
|
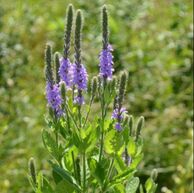
Hoary Vervain
|
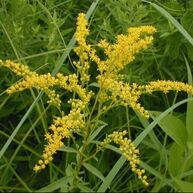
Early Goldenrod
|
Spring Flowering
|
Hairy Beardtongue (Penstemon hirsutus)
|
Pussytoes (Antennaria neglecta)
|
SummeR Flowering
|
Black-eyed Susan (Rudbeckia hirta)
Coneflowers (Echinacea purpurea and/or E. pallida) Wild Bergamot (Monarda fistulosa) |
Swamp Milkweed (Asclepias incarnata)
Butterfly Milkweed (Asclepias tuberosa) Bee-balm (Monarda didyma) Nodding Wild Onion (Allium cernuum) |
Giant Yellow Hyssop (Agastache nepetoides)
Tall Coreopsis (Coreopsis tripteris) Hoary Vervain (Verbena stricta) Agastache foeniculum, Anise Hyssop |
Fall Flowering
|
New England Aster (Aster novae-angliae)
Smooth Aster (Symphyotrichum laeve) |
Early Goldenrod (Solidago juncea)
Gray Goldenrod (Solidago nemoralis) |
Upland White Goldenrod (Solidago ptarmicoides)
|
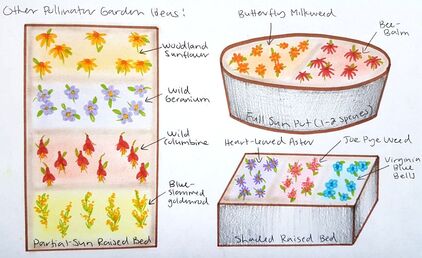
Perennials suited for: PARTIAL SUN
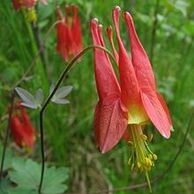
Canadian Columbine
|
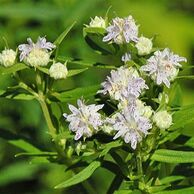
Virginia Mountain Mint
|
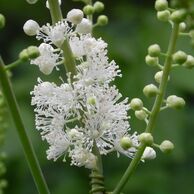
Black Cohosh
|
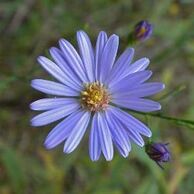
Sky Blue Aster
|
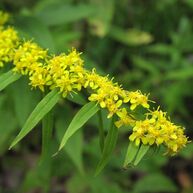
Blue-stemmed Goldenrod
|
Spring Flowering
|
Wild Geranium (Geranium maculatum)
|
Wild Columbine (Aquilegia canadensis)
|
Summer Flowering
|
Black Cohosh (Actaea racemosa)
Woodland Sunflower (Helianthus divaricatus) |
Virginia Mountain Mint (Pycnanthemum virginianum)
|
Sky Blue Aster (Aster oolentangiensis)
|
Fall Flowering
Blue-stemmed Goldenrod (Solidago caesia)
Perennials suited for: SHADE
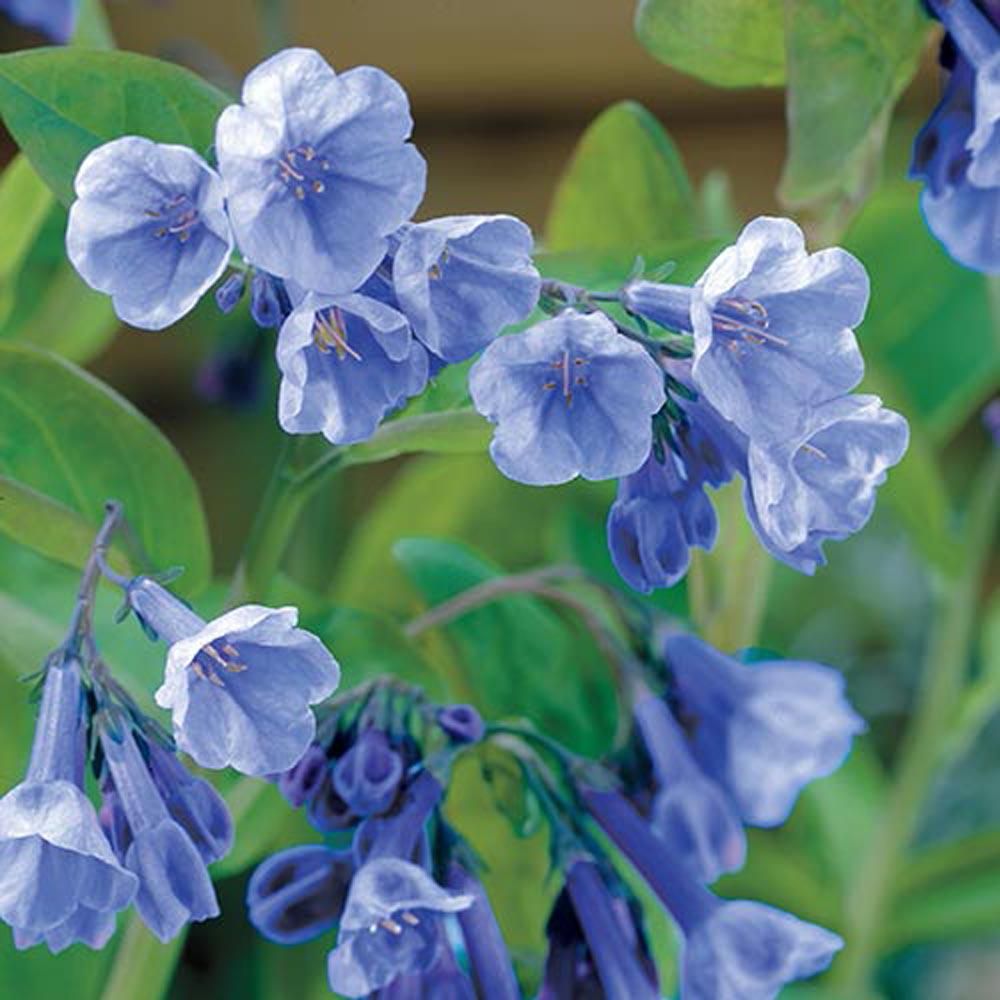
Virginia Bluebells
|
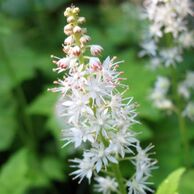
Foamflower
|
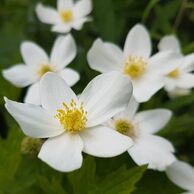
Canada Anemone
|
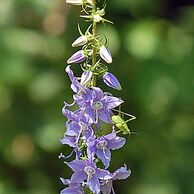
Tall Bellflower
|
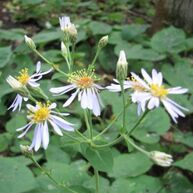
Large-leaved Aster
|
Spring Flowering
|
Early Meadow Rue (Thalictrum dioicum)
Virginia Bluebells (Mertensia virginica) Foamflower (Tiarella cordifolia) |
Wild Geranium (Geranium maculatum)
False Solomon’s Seal (Maianthemum racemosum) |
Wild Ginger (Asarum canadense)
Mayapple (Podophyllum peltatum) |
Summer Flowering
|
Canada Anemone (Anemone Canadensis)
Tall Bellflower (Campanula americana) |
Large-leaf Aster (Aster macrophyllus)
Red Baneberry (Actaea rubra) |
Joe-pye Weed (Eupatorium purpureum and/or E. maculatum)
|
FalL Flowering
|
Heart-leaved Aster (Symphyotrichum cordifolium)
|
Large-leaved Aster (Eurybia macrophyllus)
|
Zig-zag Goldenrod (Solidago flexicaulis)
|
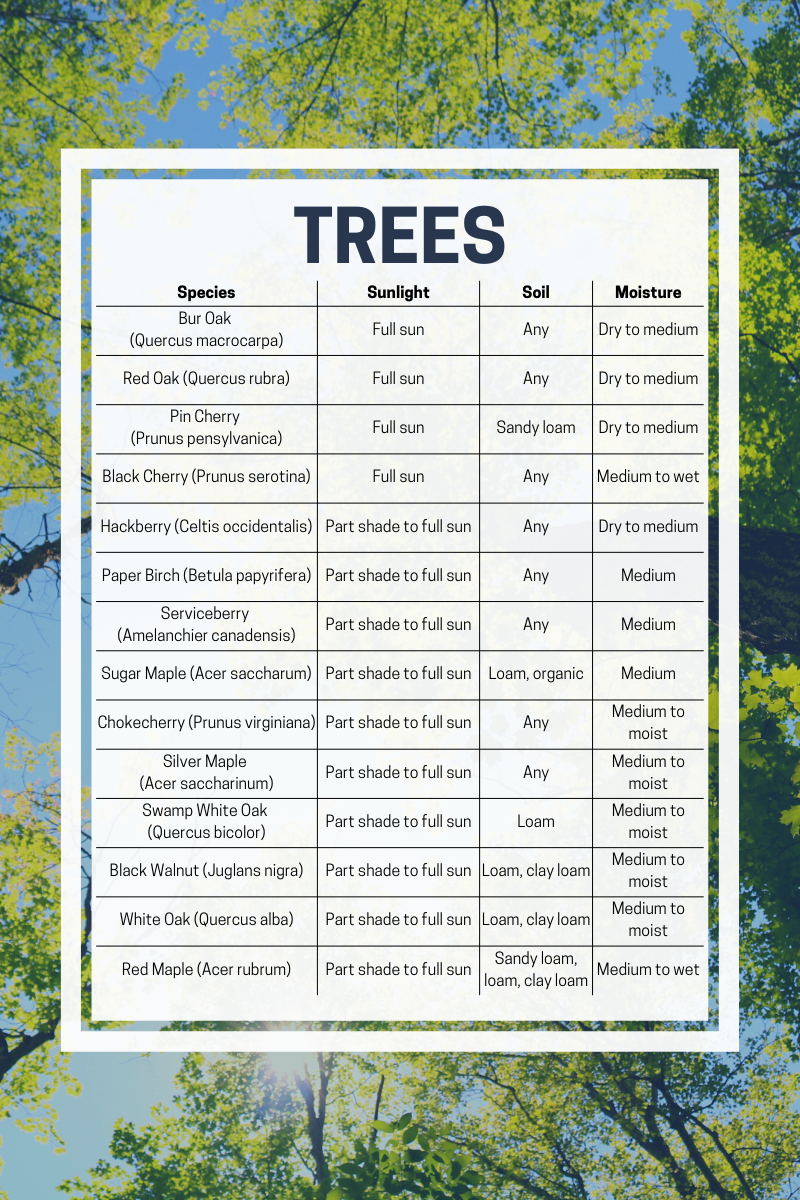
Trees
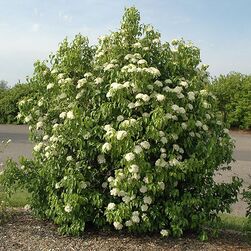
Nannyberry
|
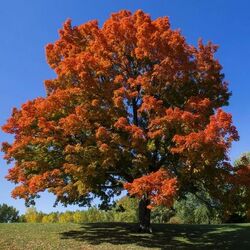
Sugar Maple
|
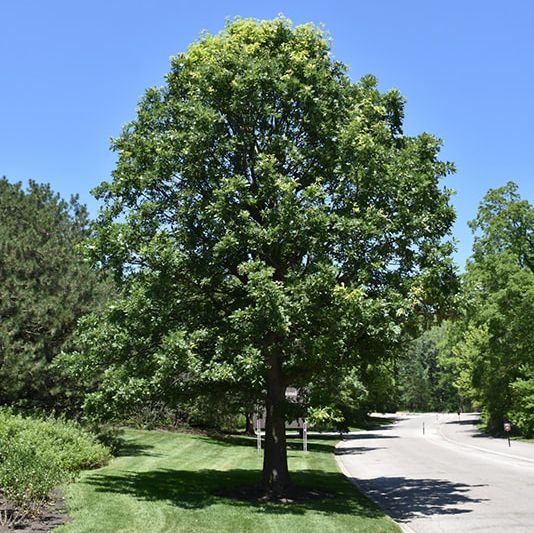
Chinkapin Oak
|
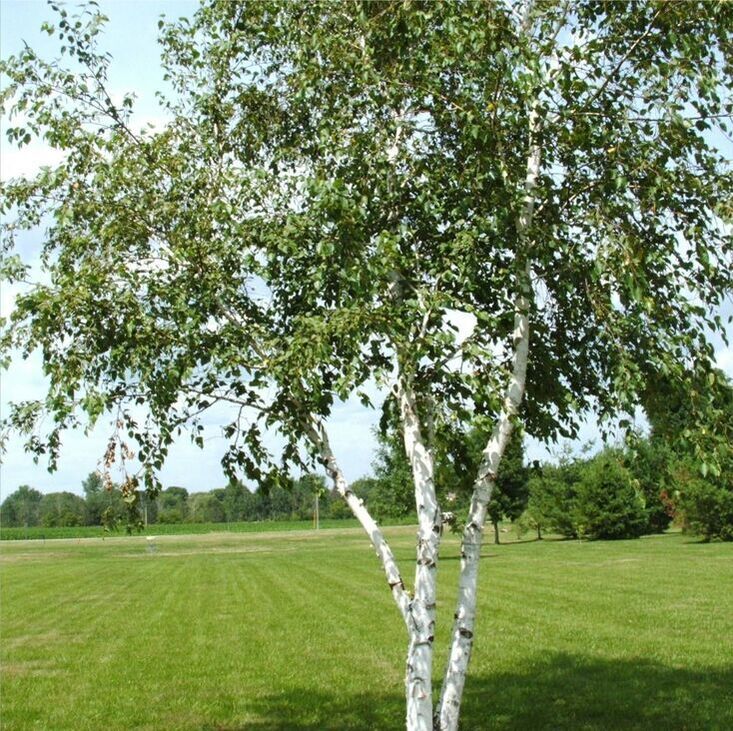
White Birch
|
Small Trees
|
Nannyberry (Viburnum lentago)
Witch-hazel (Hammamelis virginiana) |
Serviceberry (Amelanchier sp.)
American Plum (Prunus americana) |
Blue Beech (Carpinus caroliniana)
Choke Cherry (Prunus virginiana) |
Larger Trees
|
Chinkapin Oak (Quercus muehlenbgergii)
Sugar Maple (Acer saccharum) |
Bur Oak (Quercus macrocarpa)
Red Cedar (Juniperus virginiana) |
Hackberry (Celtis occidentalis)
White Birch (Betula Papyrifera) |
Shrubs, Ferns & Grasses and Sedges
Shrubs
|
(SPRING FLOWERS)
Fragrant Sumac (Rhus aromatica) New Jersey Tea (Ceanothus americana) Ninebark (Physocarpus opulifolius) |
(SRPING TO SUMMER FLOWERS)
Mapleleaf Viburnum (Viburnum acerifolium) |
(SUMMER FLOWERS)
Round-leafed Dogwood (Cornus rugosa) Flowering Raspberry (Rubus odoratus) Shrubby Cinquefoil (Potentilla fruticosa) |
Ferns
|
Christmas Fern (Polystichum acrosticoides)
|
Marginal Wood Fern (Dryopteris marginalis)
|
Grasses and Sedges
|
Switchgrass (Panicum virgatum)
Prairie Dropseed (Sporobolus heterolepsis) Little Bluestem (Schizachyrium scoparium) |
Wild Oats (Chasmanthium latifolium)
Gray’s Sedge (Carex grayi) Black-fruited Sedge (Carex eburnea) |
Indian Grass (Sorghastrum nutans)
Tufted Hair Grass (Deschamspia cespitosa) |
Want more resources? Click here to access the additional plant lists that we have listed on our website!
Where to Buy Plants and Seeds
- Local plant sales including RBG’s Plant Faire in April, Pollinator Paradise’s fall event, Seedy Saturdays in various locations in the spring, and more.
|
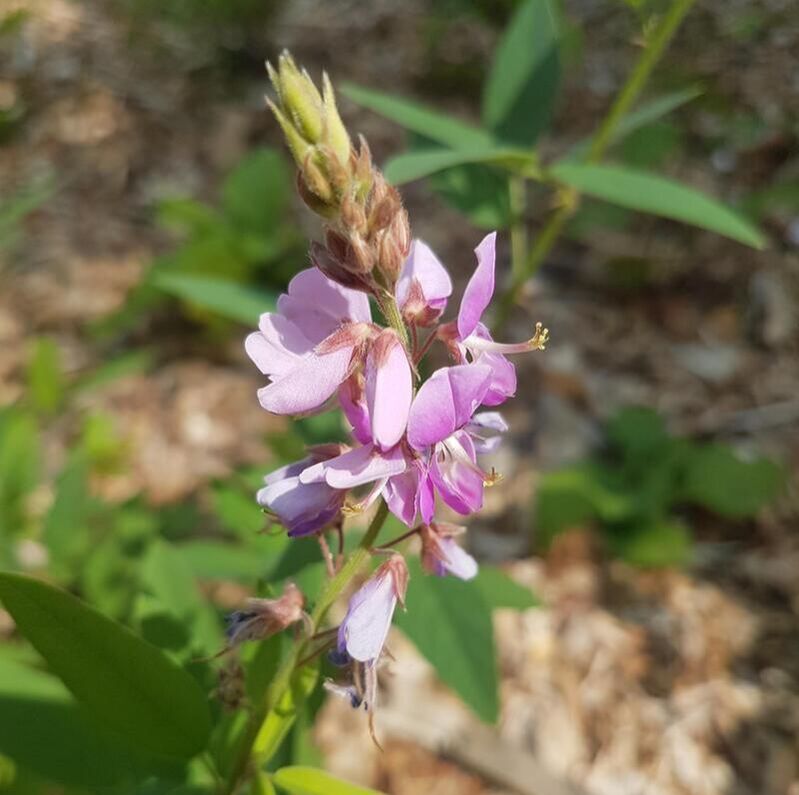
Showy Tick-Trefoil
|
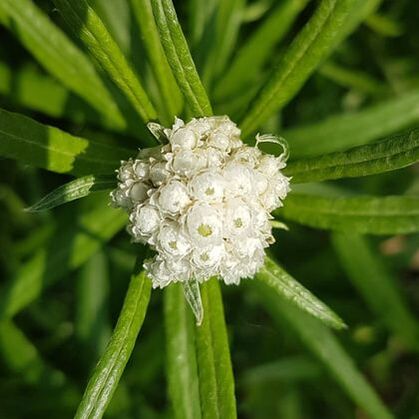
Pearly Everlasting
|
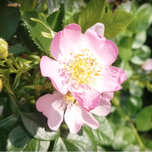
Carolina Rose
|
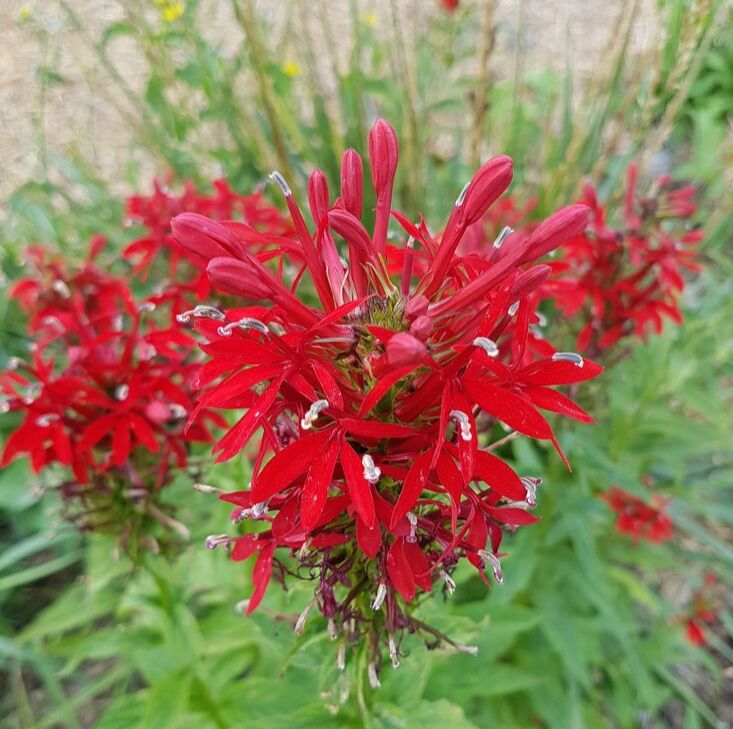
Cardinal Flower
|
Pollinators and Very Small Spaces
Not ready to plant a pollinator garden, but still want to support pollinators? Do you have a very small yard or perhaps just a balcony? Here are some quick and easy ways to support pollinators if you’re short on time or space:
Certify Your Pollinator Garden and Get on the Map!Now that you’ve planted your pollinator garden, the Hamilton Pollinator Paradise Project will certify your garden for free, and you’ll receive a “We Are Feeding Pollinators” sign. We will also add your garden to the growing map of our Pollinator Corridor across Greater Hamilton. This helps us show the great work that Hamiltonians are doing with their gardens, as well as identify key areas where gardens are needed.
|
|
Enjoy Your Garden! |
Get Involved |
|
|